This blog post covers everything from selecting the best potato varieties for crispy chips, fluffy jackets, and perfect roast potatoes to essential planting techniques and care tips. Learn about the ideal soil conditions, watering practices, and potato crop storage.
Selecting the Best Potato Varieties
Types of Potatoes for Different Culinary Uses
When it comes to growing potatoes, selecting the right variety is crucial for achieving the desired texture and flavor in your dishes. Below is a list of the different kinds of potatoes you can grow and what they are best used for in the kitchen
- Chips: To make deliciously crispy chips, it is best to use starchy varieties of potatoes like Maris Piper and King Edward. These potatoes have a high starch content, which results in a light and crispy texture when fried.
- Jacket Potatoes: If you’re looking for fluffy jacket potatoes with a crispy exterior, Maris Piper are again another great choice due to its light, fluffy interior when cooked. Other good options include King Edward and Desiree, providing the ideal size and texture for great jacket potatoes.
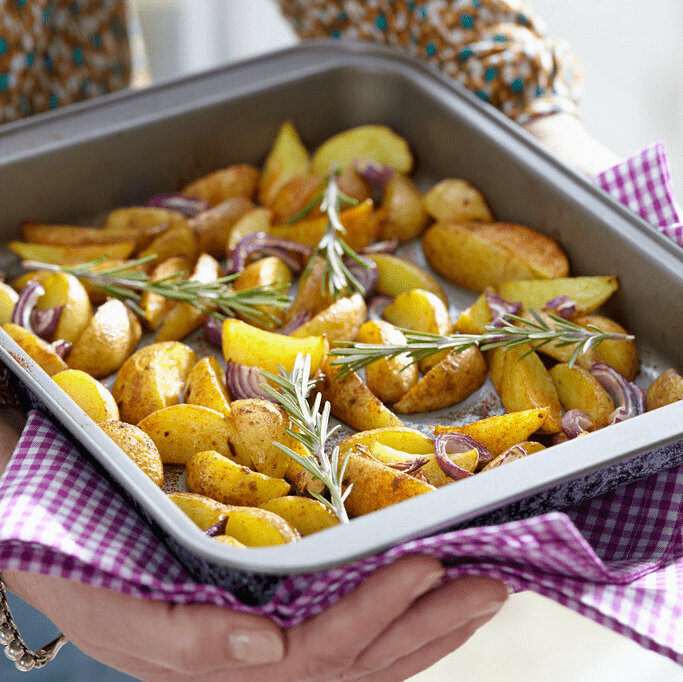
- Roast Potatoes: For roast potatoes that are crispy on the outside and fluffy on the inside, King Edward and Maris Piper are again the best options. Their unique composition allows them to hold their shape while achieving that perfect roast.
Planting Techniques and Care Tips
Preparing the Soil and Planting
The foundation of a successful potato crop lies in the soil. Potatoes thrive in well-draining, loose soil. Heavy clay or compacted soil can lead to poor growth and disease. For optimal growth, aim for a soil pH between 5.5 and 7.0. Before planting, enrich your soil with organic matter such as compost or well-rotted manure. This will improve the soil’s structure and provide essential nutrients.
- Step-by-Step Guide to Planting Seed Potatoes:
- Choose Seed Potatoes: Select the seed potatoes you require for the dish you are looking to create.
- Chit the Potatoes: A few weeks before planting, place seed potatoes in a light, cool area to encourage sprouting if they have not already. Your seed potatoes may already arrive having sprouted, so there is no need to complete this step
- Planting: Once the soil has warmed to about 7°C, plant the seed potatoes 10-20 cm deep and 30 cm apart in rows spaced 75 cm apart.
You can read our in-depth article on growing seed potatoes for more information.
Watering and Maintenance
Proper care is essential for healthy potato plants. Potatoes need consistent moisture, especially during tuber formation. Water deeply once a week, ensuring the soil remains moist but not soggy. Use a balanced fertilizer high in potassium to promote healthy growth. Apply it when planting and again when plants are about 15 cm (6 inches) tall. Watch for common diseases and pests like ring rot, root rot, and aphids. If you do see signs of disease or pests, ensure to remove those affected as soon as you can and treat the remaining harvest appropriately.
When and How to Harvest Your Potatoes
Knowing when and how to harvest your potatoes can significantly impact their flavor and texture Generally, potatoes are ready to harvest when the foliage begins to yellow and die back. For new potatoes, you can start harvesting about 10 weeks after planting.
Use a garden fork to gently lift the potatoes from the soil, being careful not to pierce them. Start from the outer edges of the plant and work your way in. After harvesting, allow potatoes to dry in a cool, dark place for a few hours. Store them in a breathable container, such as a burlap sack, in a cool, dark location to prevent sprouting and maintain flavor.
You now have a bountiful harvest of potatoes, perfect for your homemade chips, jacket potatoes, or the crispiest roast potatoes.
Learn more about harvesting and storing your crops in our in-depth guides.